How to create Gradle Java Project using Intellij IDEA?
Step by Step Project creation.
-
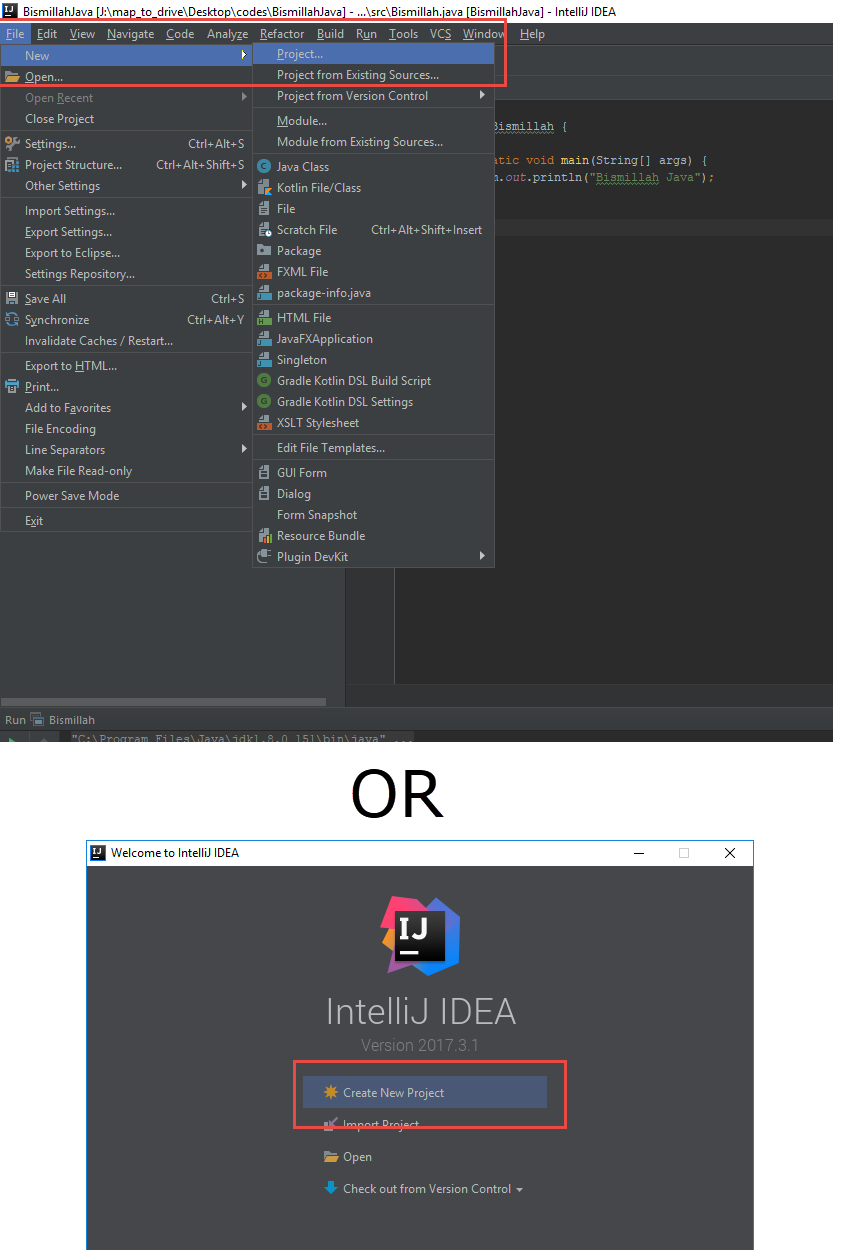
Open Intellij IDEA
-
Click File >> Project OR Create New Project (if new installation)
-
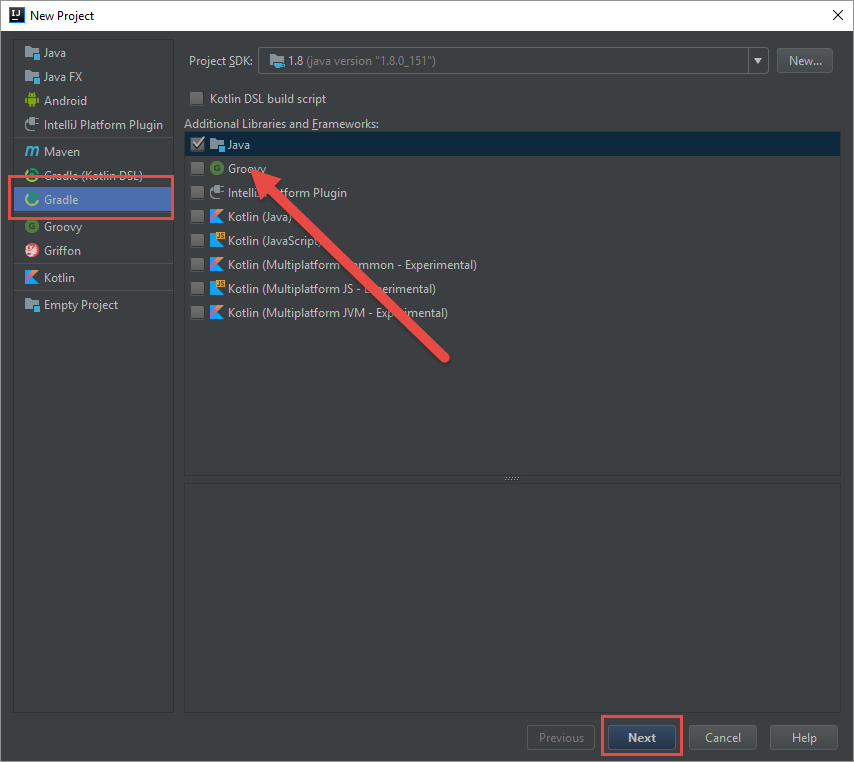
Click Gradle >> Check to Java >> Press Next
-
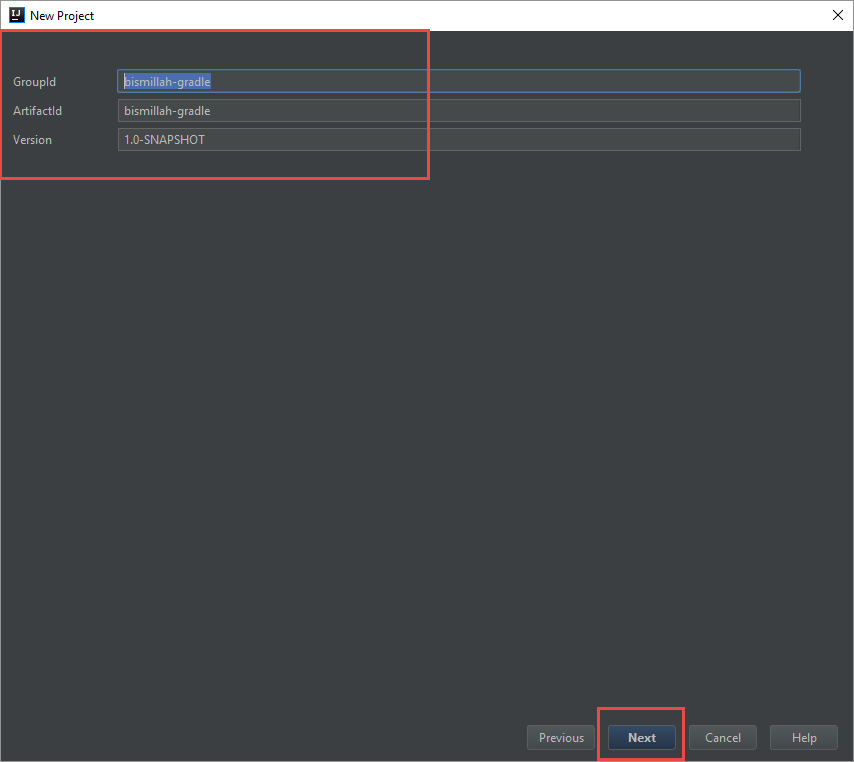
Fill Text box, GroupId and ArtifactId >> Press Next
-
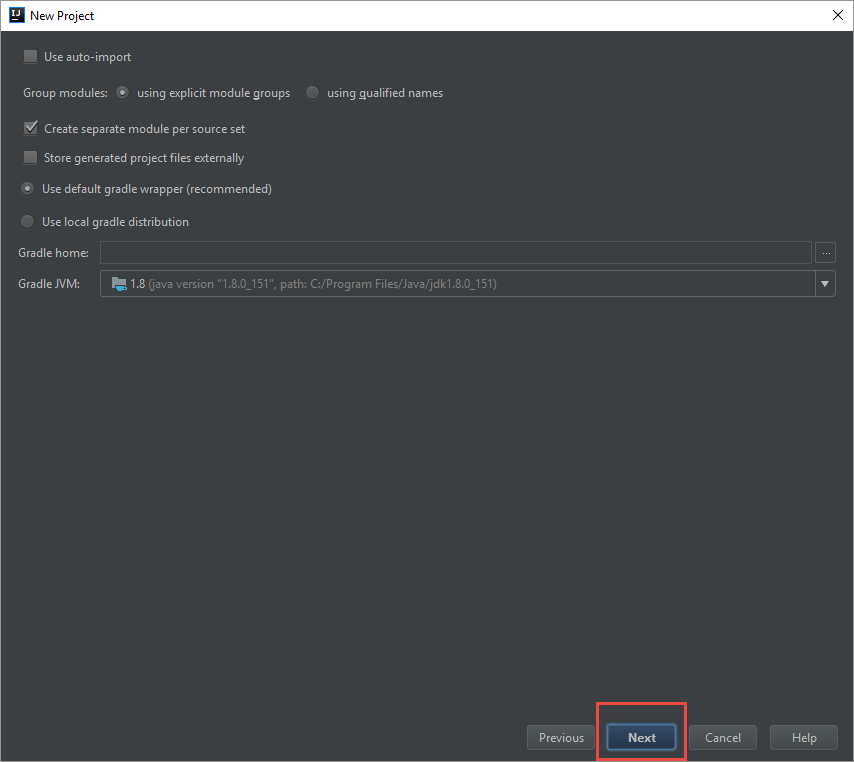
Press Next
-
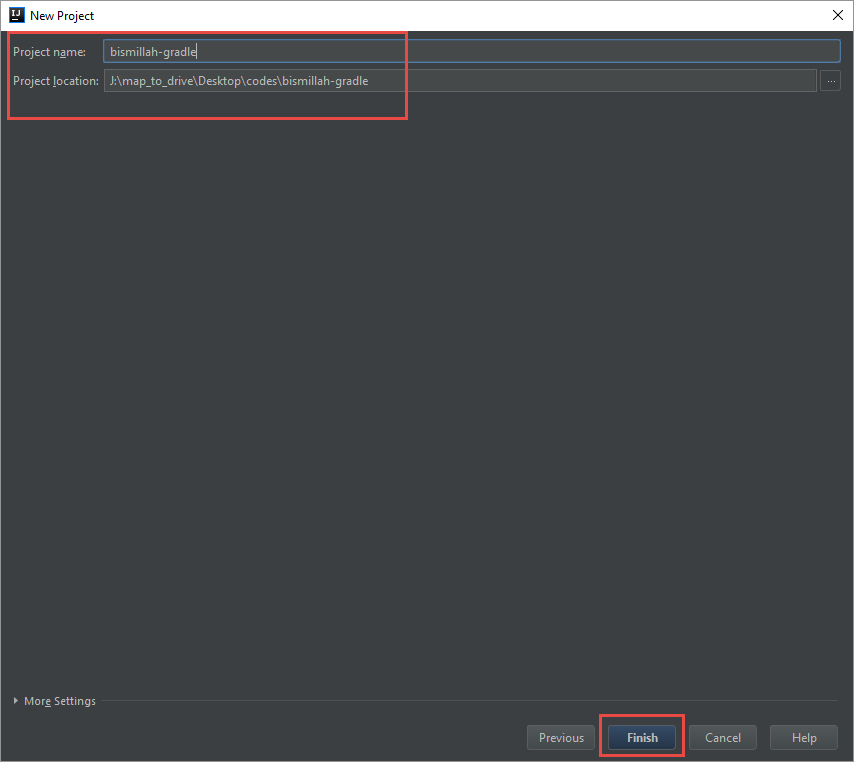
Enter the Project name and Project save Location >> Press Finish
-
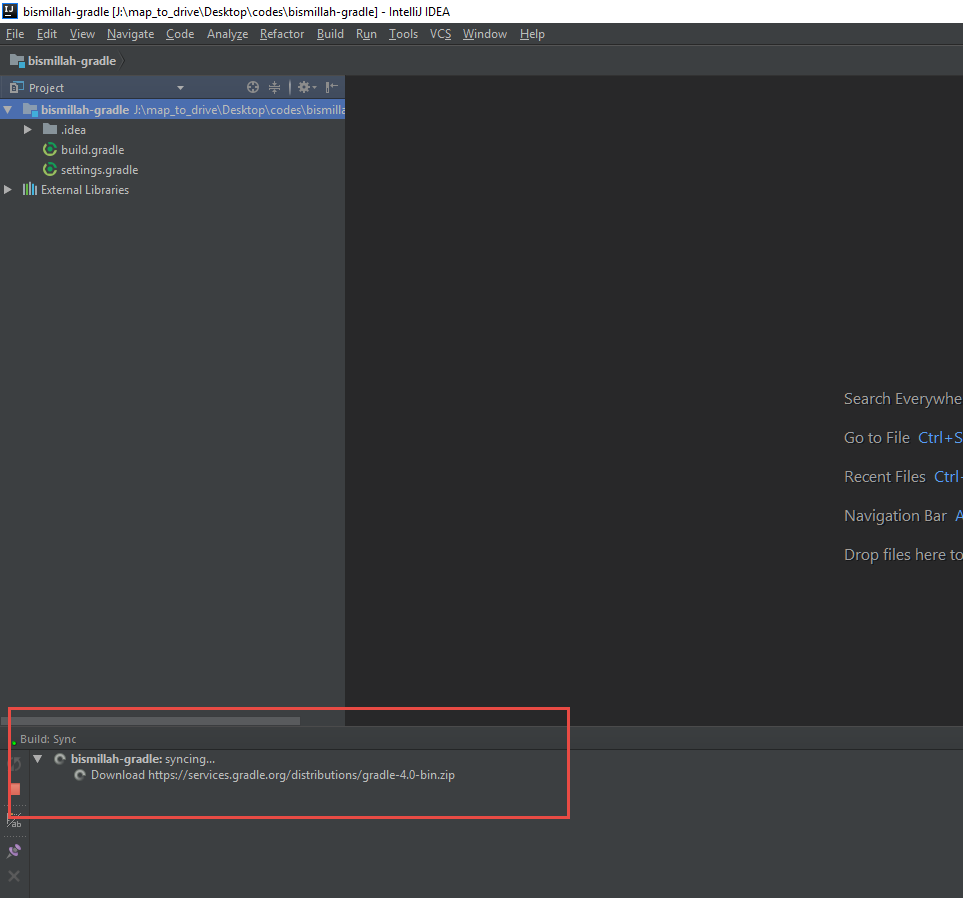
Wait Until Finish the Gradle Download process
-
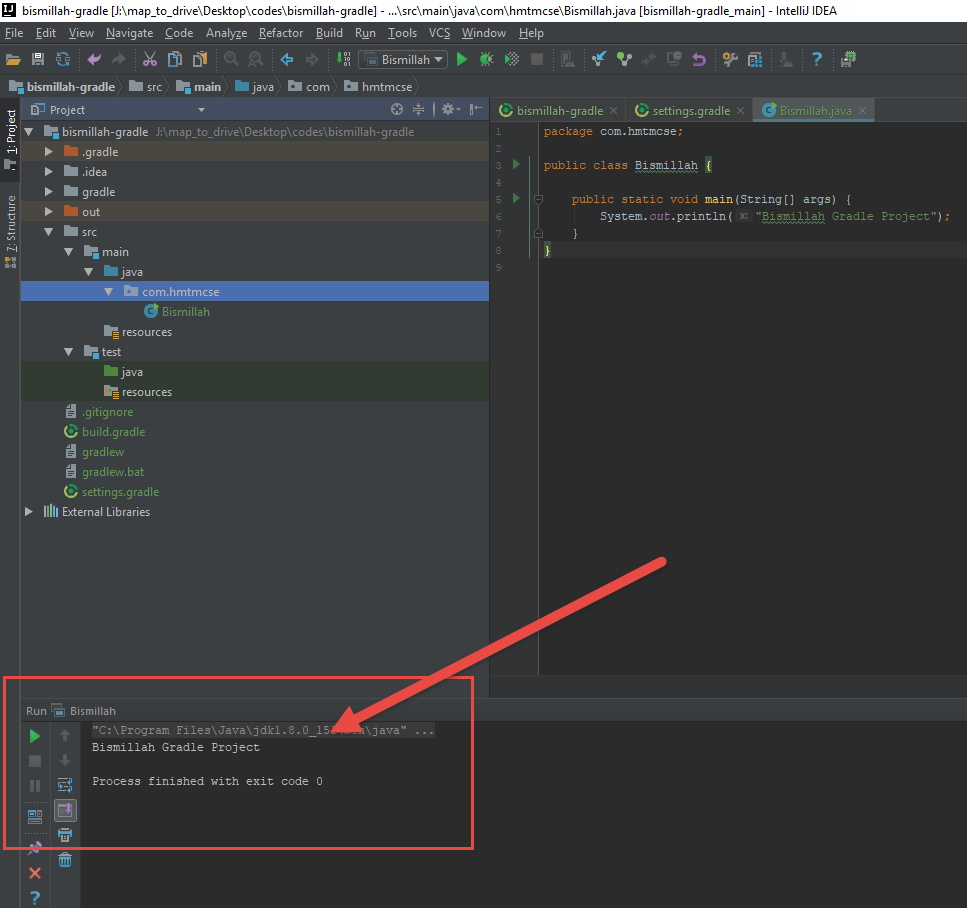
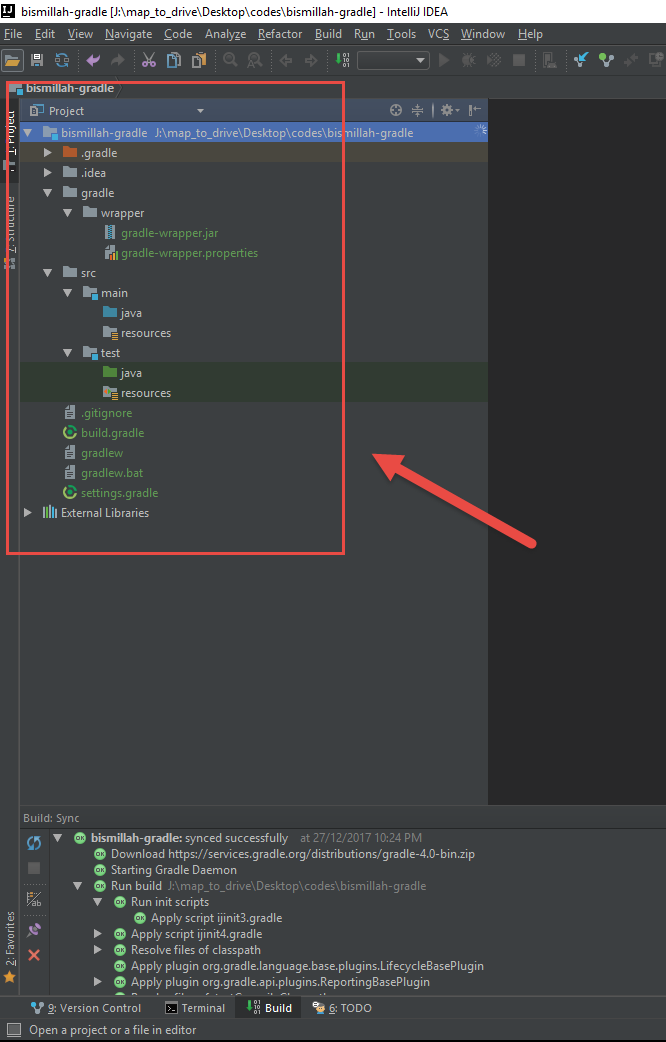
After dependencies download gradle project structure will be like below
-
Description of Gradle Project Directory Structure
-
gradle : This is the Gradle Wrapper, which help to run gradle project.
-
src >> main >> java : This is the main java source.
-
src >> main >> resources : This is the main java resource directory.
-
src >> test >> java : This is the test java source. which need if we want to create test classes.
-
src >> test >> resources : This is the test java resource directory.
-
.gitignore : It’s file/directory Ignore list for git (VCS)
-
build.gradle : Build file is heart of gradle project. here everything listed, like dependency, plugin, repositories etc
-
gradlew : Bash script which allow to run gradle command.
-
gradlew.bat : Batch script which allow to run gradle command in windows environment
-
settings.gradle : Project name, and other configuration
-
-
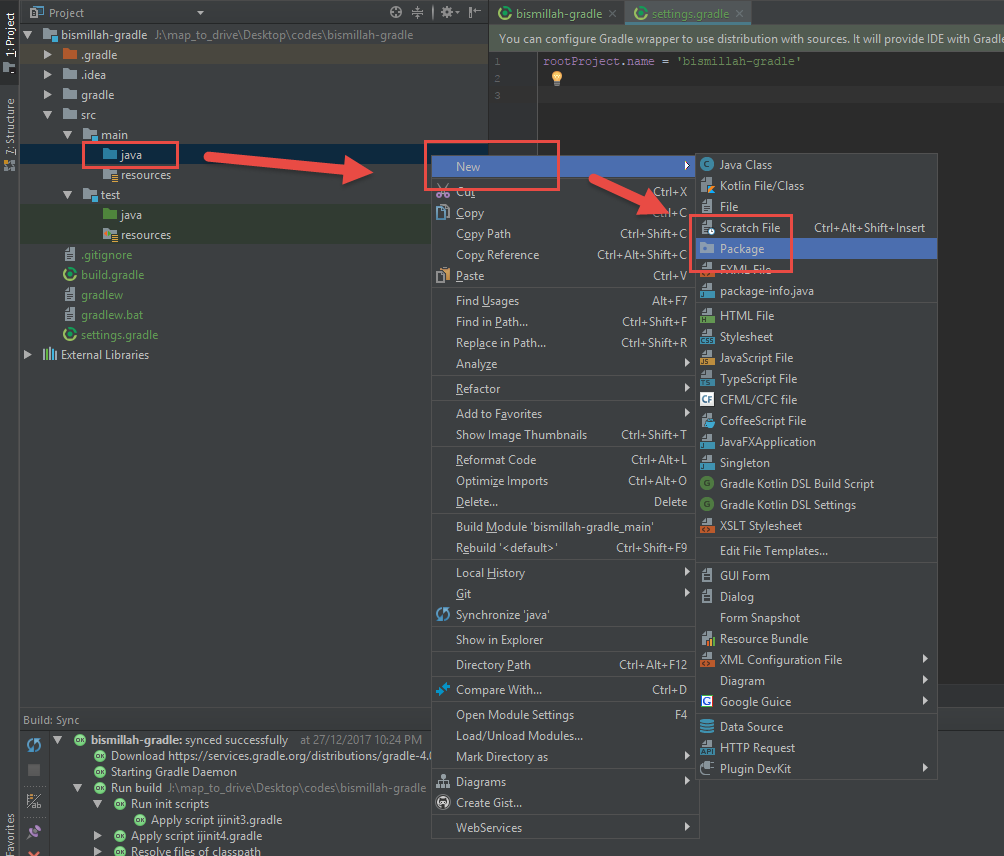
Let’s Create a Java package. Flow the instruction. Right Click top of java >> New >> Click to Package.
-
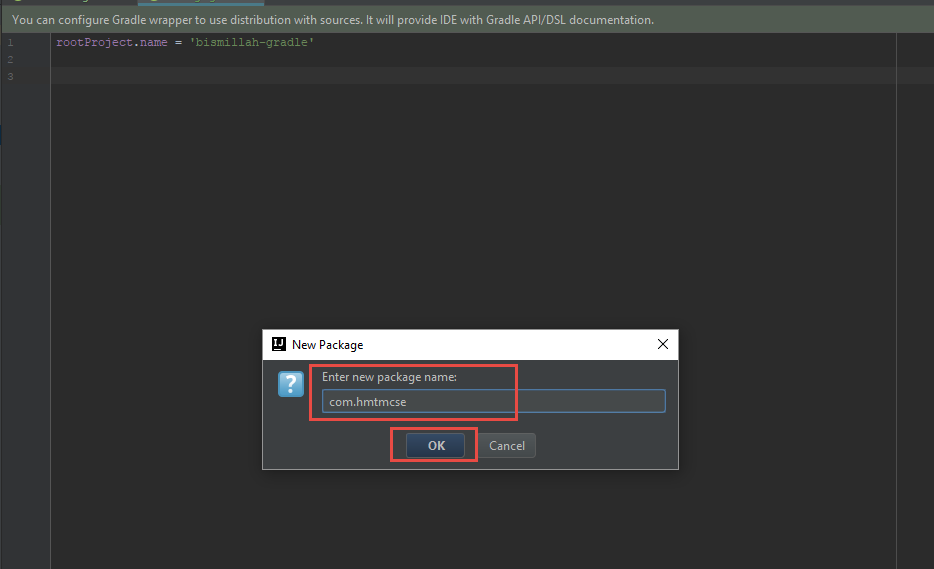
Put the package name >> Press OK. In my case i put the package name, com.hmtmcse
-
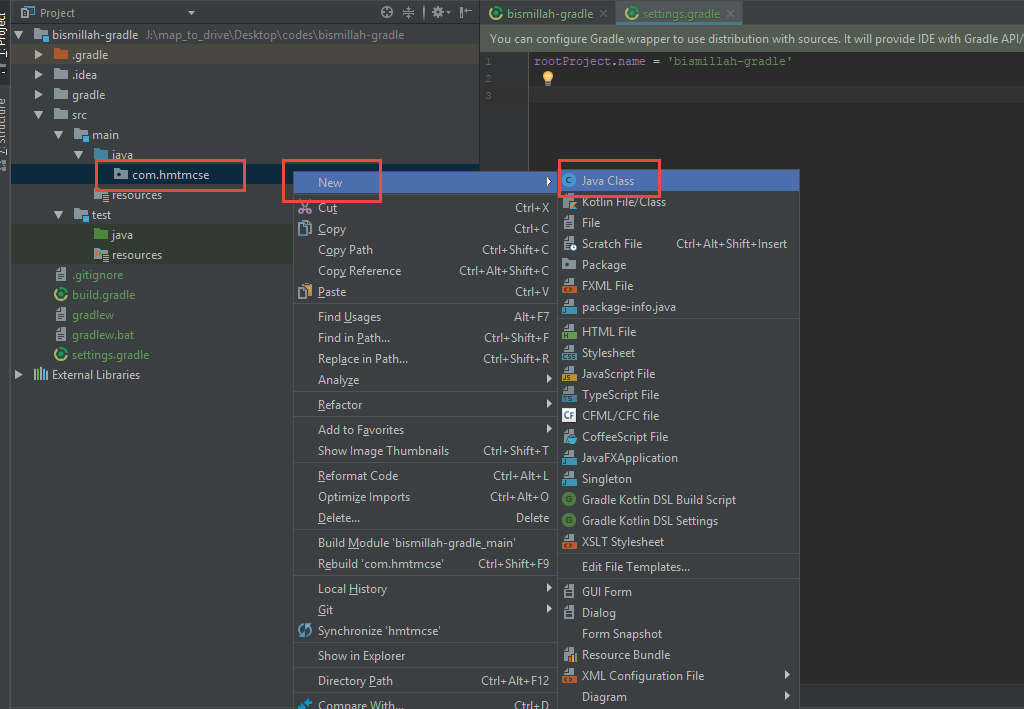
Adding new Class, Right Click top of com.hmtmcse (my case) >> New >> Click of Java Class.
-
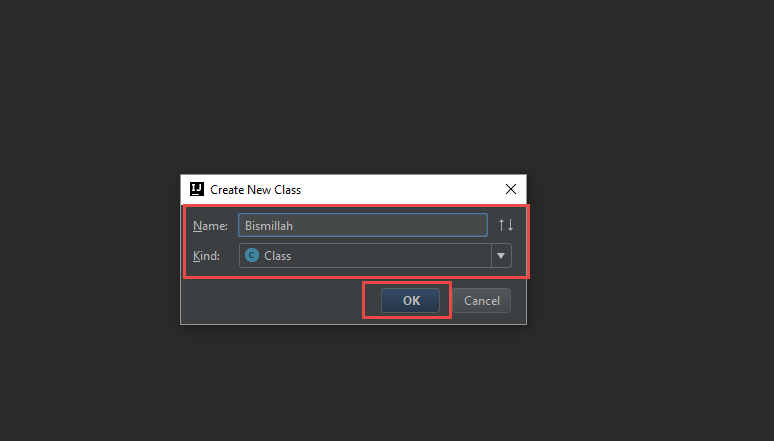
Enter The Class Name >> Press Ok (My case the class name is Bismilla)
-
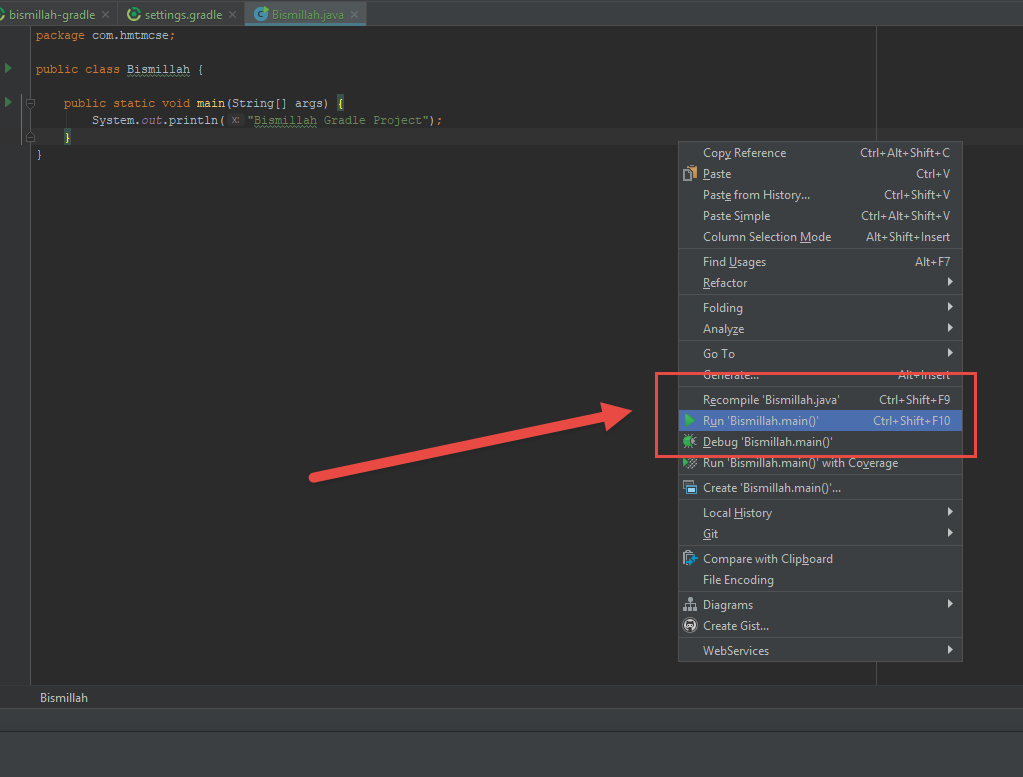
Right Click on Editor >> Press to Run
-
Class Codes
public class Bismillah {

    public static void main(String[] args) {
        System.out.println("Bismillah Gradle Project");
    }
}-
Output of the codes